
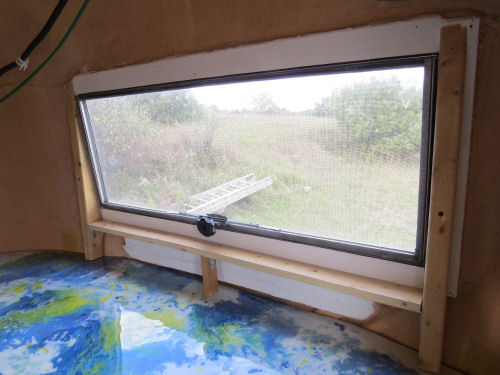
First of all, I was determined to overcome the problem that made the back window so difficult to fit wall board around. The windows are at an angle to the walls, and that angle is out at the bottom and in at the top. So my solution was to build a frame that brings the trailer walls around the window back to vertical (as close as I could get- more on that later). This created a little window sill. Might be useful... might not... it will be behind the curtains.
I also needed to move the electrical outlet, because hotplate cords are short. Just annoying, since I had thought I had that all planned. Oh well, no real biggie.

I decided to use FRP board (fiberglass reinforced plastic) for the wall because it is so flexible. Here is the first try at dry fitting the cut piece into the space. It looks better than it was.

Then I guess I just got focused on dealing with all the things that didn't go right because I didn't take any more pictures until I was done. But I will tell you that the whole project got held up big time because I discovered that I had to do everything I needed to do on this closet wall before I could proceed. We'll talk more about the closet in another installment of this saga. But, as you can see in this picture, it also has an electric outlet mounted in it. That has been planned all along.
There were many, many dry fittings to get the board cut just right and the window and outlet openings in the right places. There was the usual placing small, odd framing pieces, and adding foam insulation where I could, and filling shallow gaps with fiberglass batting.

As it turned out, I had to cut the FRP board into two sections anyway. The final wall was just a tiny bit not "flat," and with going around the curve I had to cut it so it wouldn't buckle. That actually worked out fine. You can see one of the problems in the upper corner by the closet wall. The fact that the corner of the FRP had to bend there threw the opening for the window out of square.
The subway tile is stick-on sheets. Mounting them had a little more of a learning curve than I anticipated. Since I was only doing a small area, I was almost done before I really got it figured out. So it's not as perfect as I would like, and even so, the wall wasn't perfectly square, so I had to fudge things a tiny bit, but it's pretty good. It needs to have trim around the edges which will help it look better, but that's not happening before this trip.
And I had to break down and put some screws on the top side. I was hoping to glue the FRP to the framing. But the whole issue of fastening the stuff down ended up being a question of weighing all the pros and cons. If I glued it in, then it was there permanently, without option to remove it easily, if necessary. But as it turned out, the wall was just not consistently vertical enough, and I realized there was going to be too much torque on the board, and I'd need to screw it.
So then, I wanted to put the screws under the subway tile stickers, so nothing would show. But then, if I needed to remove the wall later, I would sacrifice a tile sheet to get to the screws. Also, the FRP board is a bit brittle, and I can believe the vibrations of towing the trailer might make the screw heads break through. Also, the screw heads left bumps under the fake tile sheets. In the end, I compromised. I screwed the board under the tile near the windows, and put a few screws with trim washers through all the layers. You can see three of the screws in the next picture.
I'm pretty happy. It definitely needs trim... but that will give me something to do in a couple of years, right?

And, AND! Today was a totally get-'er-done day. Monica came over at 8:30 this morning and stayed all day helping with food.

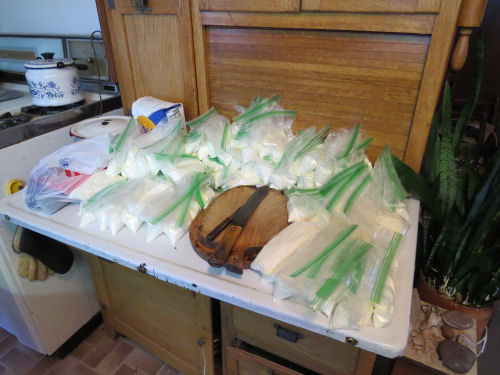
We worked together all morning and packaged up a gazillion (actual number) of meals and snacks.

In the afternoon, I finished the trailer kitchen walls, and Monica mixed and packaged up 127 trail shakes! Yippie!! THANK YOU, MONICA.
There is no other news, but I get to cross off one of the BIG ONES- the trailer kitchen walls, and I also managed to do one small thing. 27 BIG ITEMS to do (35 done), and 33 small ones to do (21 done). 26 days to go.
 | See Kitchen Countertop |
2 comments:
The kitchen section looks fantastic. Love that counter top and the subway tiles look great with it.
Ann- I was sure hoping my "vision" would actually look good, and I think it does. Found a product I can use to trim the window today. We'll see if I have time to do that.
Post a Comment