Now we'll discuss how I got here. Of course, this involves cutting two custom curved pieces-groan. Templates (began with my great template tool) had to be cut and revised until I was happy. This is try #1 of cardboard, but I wasn't confident enough of a good fit with this floppy thing so I made another from the old thin paneling that was in the trailer when I bought it. That was stiff enough that I was able to be sure I had a good fit before I cut the actual shelf. I made the shelf of 3/8" plywood. Plenty sturdy enough because you don't want to store really heavy stuff up high anyway.

Then I cut out the shelf and dry fit it in place. You can see that happened before I did the insulation I showed you yesterday.

More braces had to be fiberglassed to the trailer wall. I had to do all of these twice and two of them three times. I didn't realize the ceiling was sloped just enough to keep the shelf front from butting against them flat. So they all had to be cut at an angle. And then I didn't get two of them in quite the right place, and those had to be moved. It's really difficult to draw an orthoganal line on a multi-curved surface. Just sayin'.

Finally, I was able to dry fit the front of the bin and have it lie flush to those braces.

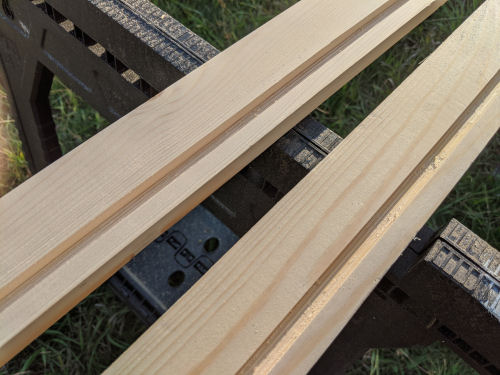
You've seen the next step already. I needed a groove cut in the front support board, and a friend with a table saw came to my rescue. (second one will be for the front bin) The front of the shelf fits in the groove so it is supported for the whole width.
Then everything had to have three coats of polyurethane. I was able to do that in the kitchen over the course of a couple of rain days.

Yesterday, I fastened the shelf and front unit together. Funny looking thing! It's lying on its front wall in the picture.

I accomplished that with some mending plates.

And then I had to decide if I wanted polyurethaned (brown mock-up) or white doors. Marie and I discussed it and decided on white beadboard to match the walls with natural wood handles, and a shape that is more like the cardboard sample.

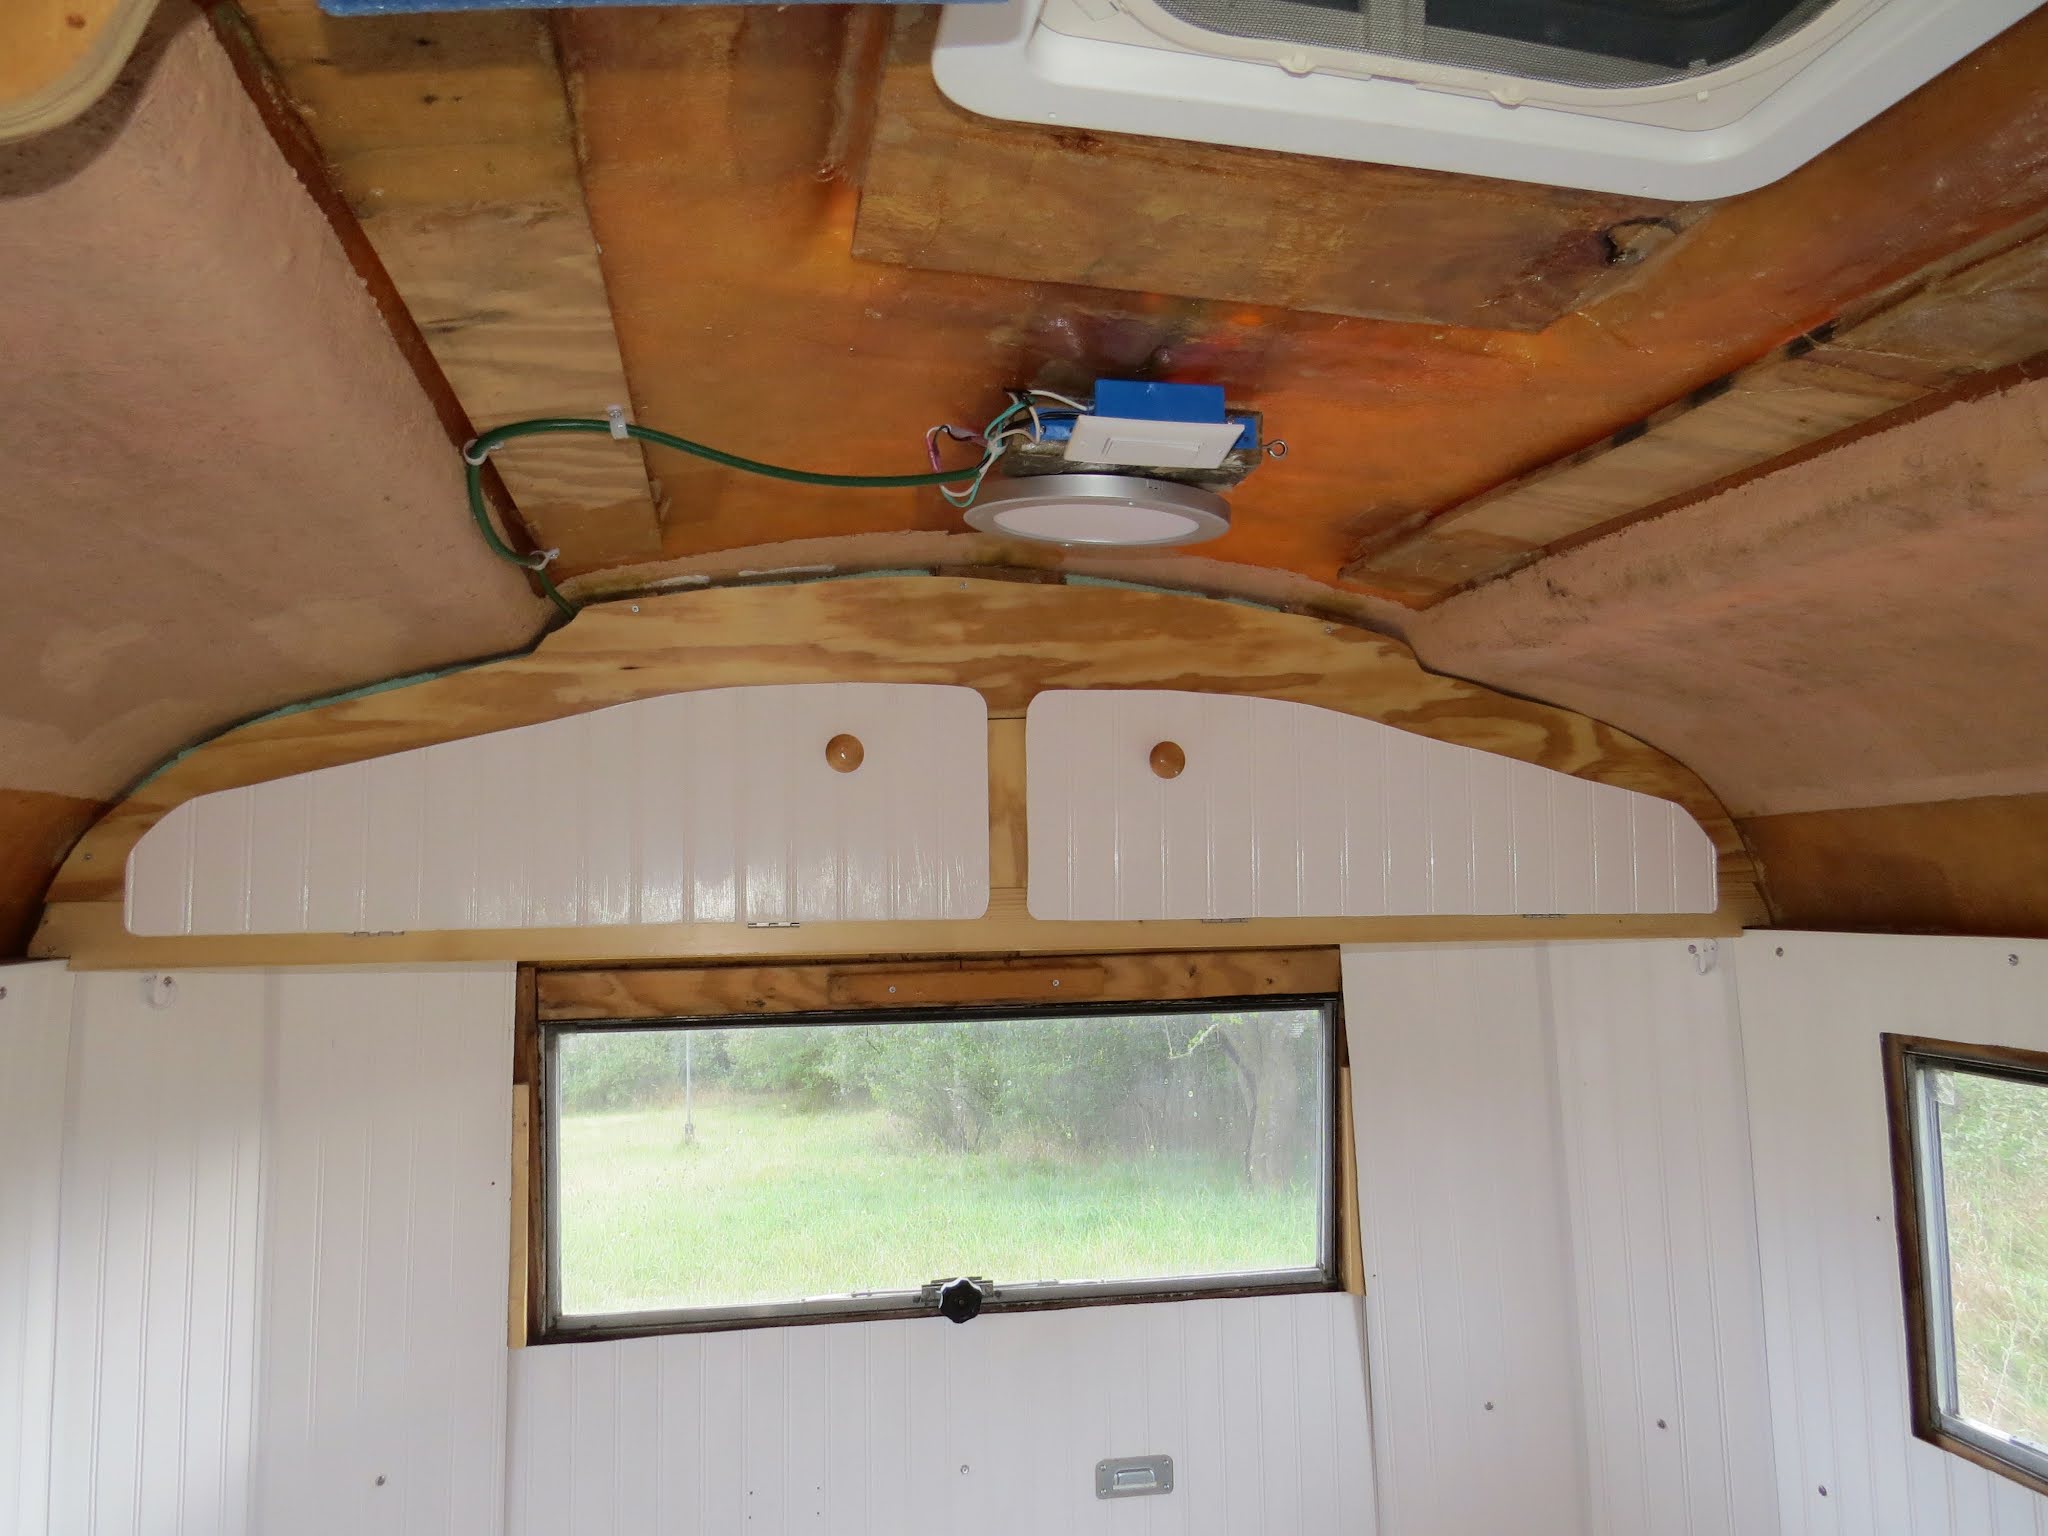
Installed the entire unit into the trailer. It screwed to those braces that were fiberglassed to the ceiling, and the edges of the front grooved shelf brace sit on horizontal studs that go along the top of the beadboard. Plenty of strong support.

The doors got cut and painted, and hardware added. Because the beadboard is only 1/8" thick, I fastened hardware to it with epoxy. Seems to be solid enough.

The catches are my version of magnetic ones. A smaller mending plate is fastened inside the front wall with a ceramic magnet glued on. There is another mending plate on the back of the door. These are good strong magnets that should hold those doors shut while traveling.

I debated long and hard (before even starting this project) about how I wanted the bins to open. I finally decided to go with drop down.

And, once more, the picture for the final product. Of course that little gap at the top of the wall will be covered by the insulation of the next section.
In other news: I edited in the morning and then did some errands (of course), and then worked on the trailer. Also, last night I organized the living room with better defined spaces for things that need to go with me rather than just piles of whatever.
I did revise my list. It now has BIG ITEMS and small items (not day-to-day stuff, but one-time things that have to be done before I can leave). I have thought of some of the things that have to be added. Result: BIG ITEMS: 23 done (1 today), 37 to go. Small items: 10 done (2 today), 23 to go. I'm sure there will be more of those, and I need to step up the amount of hiking in November. That's not on the list. Well, 46 days left to accomplish it all.
 | See Back Insulation |
2 comments:
That was a big job. It looks amazing.
Ann- thank you! You've watched it "grow" from completely empty!
Post a Comment